
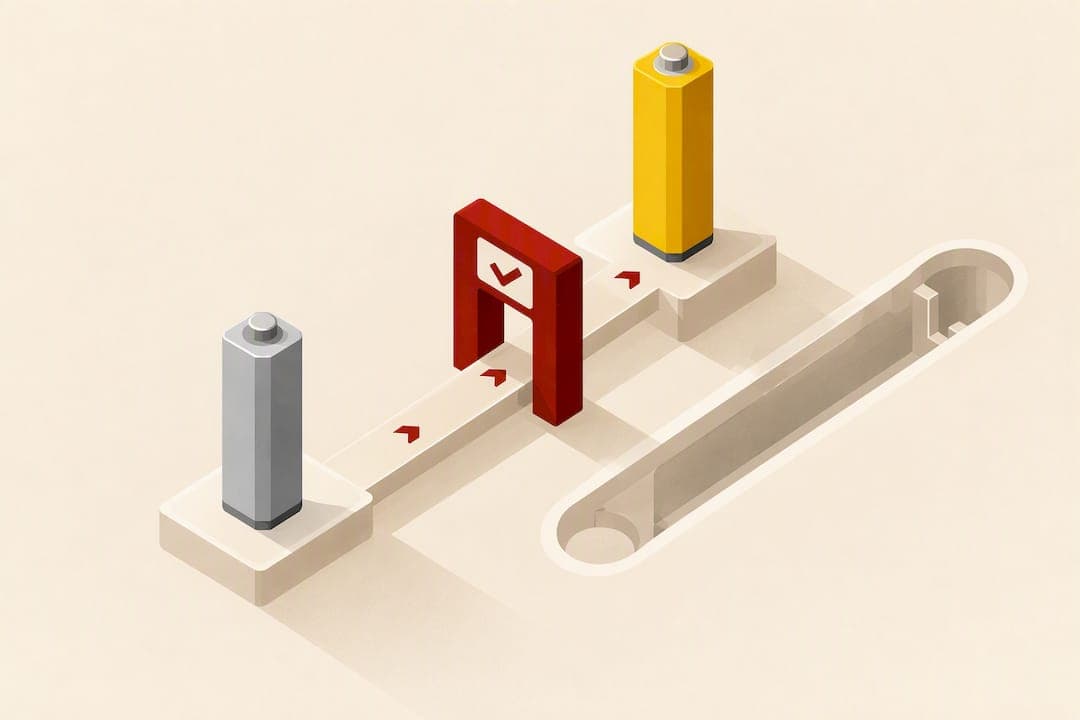
Most rechargeable electric toothbrush batteries can be replaced, but whether you should do it yourself depends on the model and the battery's condition. If the cell is swollen, cracked, or overheating, stop and use a professional repair service instead. Start by identifying your exact model and battery specification before you order anything or pick up a tool.
TL;DR:
- Only replace a swollen, cracked, or overheating battery handle with professional help to avoid safety risks from lithium-ion self-ignition.
- Verify the toothbrush model, type number, voltage, and chemistry precisely, as mismatched replacements can cause charging or performance issues.
- Use protective measures like tape and non-flammable containers when handling damaged batteries to prevent fire hazards and comply with disposal regulations.
- Gather all tools and confirm replacement parts—matching voltage, chemistry, and connector—before opening the handle to avoid delays or damage.
- For sealed or soldered models, especially older Sonicare units, consider professional repair services instead of DIY to prevent voiding warranties or causing handle damage.
Table of Contents
- Toothbrush Battery Replacement Starts With Finding Your Model
- What Safety Checks Come Before You Open the Handle?
- Tools and Parts You Need Before Starting
- Step-by-Step Electric Toothbrush Battery Replacement
- How Do You Test and Troubleshoot a New Battery?
- Battery Disposal and Recycling Rules You Need to Follow
- Where to Get Parts and Repair Help
- A Repair Editor's Honest Take on DIY Battery Swaps
- Get the Right Parts or Skip the Repair Entirely
- Model-Specific Guides Worth Bookmarking
- Sources
- FAQ
Toothbrush Battery Replacement Starts With Finding Your Model
Before you order a replacement cell, you need three pieces of information: the exact model, the type number, and the battery's voltage and chemistry. Guessing from a photo of the old cell is how people end up with a pack that charges wrong or fails within weeks.
Type numbers are usually stamped somewhere non-obvious. On Oral-B handles, especially the iO series, the number sits on the bottom cap rather than the body, and it matters because submodels within the same line can use different nominal pack voltages, with some running 3.2V and others 3.6V. Order the wrong one and you risk shortened runtime or a charger that won't recognize the pack at all. Philips Sonicare handles print type numbers inside the handle or on the original packaging and manual, and voltage varies by generation, too.
To confirm what you're actually replacing:
- Record the full type number and any production code printed near it.
- Check the old cell's printed voltage and chemistry markings, if legible.
- Measure the cell's length, diameter, and connector style with calipers if the label has worn off.
- Cross reference the number against manufacturer support documentation, not just marketplace listings.
Older Sonicare models sometimes used stacked cell designs rather than a single pack, and some early units accepted a two AAA NiMH substitution as a historical workaround, though that only works if the charging circuit tolerates the different chemistry. Visual matching alone is not enough. A replacement that looks identical but runs the wrong voltage can undercharge, overcharge, or simply never power the motor correctly.
What Safety Checks Come Before You Open the Handle?
Stop immediately if you see swelling, feel unusual heat, smell anything chemical, or spot leakage on the old cell. A damaged lithium-ion pack can self-ignite, and Verbraucherzentrale recommends storing cells at roughly 50% charge during ordinary handling, while repair guides suggest discharging closer to 25% before opening a handle, since that lowers the stored energy involved in any accidental short.
Damaged cell? Do this, not that: Tape both terminals immediately with electrical tape, place the cell in a non-flammable container, and take it to a collection point the same day. Do not puncture it, compress it, or leave it near paper or fabric while you decide what to do next.
Work on a clean, non-flammable surface, wear eye protection, and keep a fire-safe container nearby just in case. Manufacturers generally discourage DIY battery removal on safety grounds, and opening a sealed handle almost always voids any remaining warranty. If your toothbrush is still under warranty or covered by right-to-repair provisions, contact authorized service before you open anything.

Tools and Parts You Need Before Starting
Gather everything first. Stopping mid repair to hunt for a tool is how handles get set aside half open for weeks.
- Plastic spudger (no metal near the cell terminals)
- Precision Torx or flathead drivers for the base screws
- Fine tweezers, non-conductive if possible
- Soldering iron and desoldering braid, only if your model uses soldered leads
- Multimeter for voltage checks before and after
- Heat-shrink tubing or insulating tape for exposed connections
Match the replacement to nominal voltage, chemistry (Li-ion versus Ni-MH), physical dimensions, and connector type, not just appearance. A prewired pack removes the soldering step entirely, which is worth the small premium if you've never soldered a battery lead before.
Pro Tip: Check a product page like AkkuPlus's Akkus (Einzelzellen) category against your measured voltage and connector type before buying. If nothing matches exactly, a prewired Akku- und Batteriepack is safer than forcing a close substitute.

Step-by-Step Electric Toothbrush Battery Replacement
The exact disassembly varies by brand, but the underlying sequence is consistent across most electric toothbrush battery replacement jobs.
-
Prepare the workspace. Power off the handle, remove the brush head, and photograph the handle from every angle before you touch a screwdriver. If the charge allows, run the motor until the pack drops toward 25%, which reduces stored energy during the open procedure.
-
Open the handle. Some bases twist off, others need a plastic spudger to pry a sealed cap, and a few Oral-B models hide screws under a rubber grip. Go slowly around seals and clips. A cracked seal now means a water-damaged handle later.
-
Remove the old battery. Use plastic tools only, never metal, near the terminals. Some packs simply unplug from a connector; others are soldered directly to the circuit board, which means desoldering with a fine iron and braid, as detailed in iFixit's Oral-B iO guide. Note the exact orientation before you lift the old cell free.
-
Fit the replacement. Match polarity exactly. A reversed connection on a lithium pack can damage the charging circuit instantly. Solder clean joints if required, or seat the connector fully if your replacement is prewired. Keep the charging coil and any rubber gaskets intact and in their original position.
-
Reassemble and test. Close the handle, making sure seals sit flush, then place it on the original charger. Watch the charging indicator for a normal response and feel the base after a few minutes. Warmth is normal; heat that makes the handle uncomfortable to hold is not.
Repair writeups from German outlets note that the motor and electronics in most handles outlast the battery by years, so a careful swap can meaningfully extend the device's working life at a fraction of replacement cost, provided the seals go back correctly.
How Do You Test and Troubleshoot a New Battery?
Before the first charge, check the new cell's open-circuit voltage with a multimeter and confirm polarity matches the handle's markings. After reassembly, run a full charge cycle and time how long the motor runs on battery power alone.
- If the toothbrush won't start, check polarity first, then inspect for a cold solder joint.
- If charging seems inconsistent, check the charging coil contacts for corrosion or misalignment.
- If you smell anything unusual or the handle gets hot to the touch during charging, stop and unplug it immediately.
- Reseal the base fully before regular use to keep the handle's water resistance intact.
Persistent faults, smoke, or any sign of water intrusion after reassembly mean it's time to stop troubleshooting and call a professional.
Battery Disposal and Recycling Rules You Need to Follow
Tape the old cell's terminals before you set it down anywhere, and never compress or puncture a swollen pack. Under Germany's Batteriegesetz, used batteries cannot go in household trash; retailers and municipal recycling points are legally required to accept them.
- Insulate both terminals with tape before transport, as iFixit recommends for damaged Li-ion cells.
- Drop the old cell at any retailer selling batteries or at a municipal collection point.
- If you order a replacement online, ask whether the seller offers a return route for the old pack.
Where to Get Parts and Repair Help
If soldering feels beyond your comfort level, or the type number doesn't match anything you can find, AkkuPlus offers both parts and paid repair. Its Akkureparatur service covers cell replacement on small electronic devices, alongside single-cell and prewired pack listings you can cross check against your measured specs before buying.
Choosing between DIY and a paid service usually comes down to two questions: does the model require soldering, and is the old cell damaged? A plug-in connector job with a healthy old battery is well within reach for a careful first timer. A soldered pack, a swollen cell, or a handle you're not willing to risk cracking are all good reasons to hand it to someone who does this daily.
- Match voltage, chemistry, and connector type against listings like the lithium replacement cells AkkuPlus carries before ordering.
- If you're unsure about a specific type number, AkkuPlus's repair service page shows how cell matching and replacement work on comparable small devices.
A Repair Editor's Honest Take on DIY Battery Swaps
Oral-B Vitality style handles with plug-in connectors are genuinely approachable for a first attempt. Sealed or soldered designs, especially older Sonicare units and some iO submodels, are a different story, and I'd rather see a reader hand those to a professional than crack a handle trying to save a few euros.
If the cell is swollen or you've never soldered anything, don't start here. Photograph every disassembly step as you go, and keep the small screws and gaskets in a labeled container. You'll want that record the next time this same handle needs attention.
— Waldemar Pelich
Get the Right Parts or Skip the Repair Entirely
Specialist retailers sell a variety of products needed for toothbrush battery repair: single replacement cells matched by voltage and chemistry, prewired packs for anyone who'd rather not solder, and battery testers to confirm a cell before you commit to opening a handle.
DIY saves money if your model uses a plug-in connector and the old cell isn't damaged, but it costs time and carries real risk on soldered or sealed designs. AkkuPlus's Akkureparatur service handles that harder case directly, cell replacement and refurbishment done by someone who works with these packs daily, so a soldered joint or a tricky seal doesn't turn into a ruined handle. Browse the single-cell battery category to check fit against your measured specs, or check the prewired pack listings if soldering isn't something you want to attempt. Either way, confirm your model's voltage and connector type against the product page before you order, and reach out through the AkkuPlus site if a repair job looks better left to someone else.
Model-Specific Guides Worth Bookmarking
- Oral-B iO Battery Replacement covers exact type numbers and voltage differences across iO submodels.
- Philips Sonicare DiamondClean HX9340 guide walks through safe Li-ion removal and terminal insulation.
- Philips's own support page explains warranty implications before you open a handle.
- Verbraucherzentrale's battery disposal guide covers legal return requirements in detail.
Sources
- Oral-B iO Battery Replacement — iFixit
- Philips Sonicare DiamondClean HX9340 Battery Replacement — iFixit
- Is the battery in my Sonicare toothbrush replaceable? — Philips
- Batteries and rechargeable batteries: use and disposal — Verbraucherzentrale
FAQ
Can You Replace the Battery in a Toothbrush?
Yes, most rechargeable electric toothbrushes use a replaceable internal battery, though access ranges from a simple plug-in connector to a fully soldered pack. Check your exact model's construction before starting, since some designs require desoldering skills most people don't have on hand.
How Many Years Does an Electric Toothbrush Battery Last?
Battery life varies by usage and model, but the motor and electronics in most handles typically outlast the original battery by a wide margin, which is exactly why a battery swap is often worth doing rather than replacing the whole handle. Declining runtime between charges is usually the first sign the cell needs attention.
Which Electric Toothbrush Has a Replaceable Battery?
Most Oral-B and Philips Sonicare handles contain a replaceable internal battery, though "replaceable" here means accessible with tools, not user-swappable like a AA cell. Oral-B iO and Vitality lines and various Sonicare generations all differ in voltage and connector type, so confirm your specific model before ordering a cell.
What Batteries Go in My Toothbrush?
Most electric toothbrushes use a lithium-ion or nickel metal hydride cell with varying voltages depending on the model and generation. Confirm the exact voltage and chemistry printed on the old cell or in manufacturer documentation, then match it against a replacement listing such as AkkuPlus's single-cell battery category before buying.
Recommended
- Battery Pack for AEG Electrolux - 3.6 Volt for Self-Installation
- Battery Pack for Bosch 2607335062 - 3.6 Volt for Self-Installation
- Battery Pack for Grass Shears / Handheld Vacuum Cleaner - 3.6 Volt for Self-Installation
This article was created with the assistance of Artificial Intelligence (AI) and has been reviewed by our editorial team. Despite careful preparation, we assume no liability for the completeness, accuracy, or timeliness of the information provided. The technical data and specifications supplied by the respective manufacturer shall always prevail.