

Yes, in most cases a shaver's rechargeable battery can be replaced. Your fastest safe routes are a DIY cell swap, when the pack is serviceable, or a specialist repair service when it isn't. Feasibility depends on how the manufacturer built the pack, and some waterproof models call for professional handling to keep their seals and warranty intact.
TL;DR:
- Most shaver batteries can be replaced, but the ease depends on whether the pack is screw-tightened and accessible or fully sealed and glued.
- DIY replacement is feasible for models with accessible cells, but sealed waterproof shavers often require professional repair to avoid damaging seals and warranty.
- Identifying the correct battery type, voltage, and cell count from markings or manuals is crucial before attempting a repair to prevent mismatched replacements.
- Proper soldering techniques and safety precautions significantly reduce the risk of damaging cells or circuit boards during DIY swaps.
- When in doubt or dealing with sealed, waterproof models, consulting manufacturer guidelines or professional services is the safest approach.
Table of Contents
- Can a shaver battery actually be replaced?
- How to find the battery type, voltage and cell count for your shaver
- Step-by-step DIY battery replacement: a safe workflow
- Tools, spare parts and safety precautions to avoid permanent damage
- When to use a manufacturer service center or a specialist repair instead of DIY
- How to buy the right replacement cell or pack
- Expected parts cost, tool investment and repair turnaround times
- Why repairability matters more than most shavers admit
- AkkuPlus repair and replacement options
- Key manuals and testing reports to consult before replacing a battery
- Sources
- FAQ
Can a shaver battery actually be replaced?
The short answer is usually yes, but the construction of your specific shaver decides how easy that is. Independent testing from Stiftung Warentest treats battery replaceability as a genuine durability factor, and it penalizes shavers whose batteries cannot be swapped at all. Some models use simple, accessible cells that a confident DIYer can replace in an afternoon. Others weld or glue the cells into a sealed housing, which makes a clean repair much harder without the right tools or a service center.
That split matters because it changes your entire plan. A shaver with a screwed-together case and visible cell holders is a candidate for a home swap. A slim, fully sealed waterproof model is often better left to a manufacturer service center, since prying it open risks cracking seals that keep water out during shaving.

How to find the battery type, voltage and cell count for your shaver
Before you touch a screwdriver, gather information. The model number is usually printed on the handle, the charging stand, or under a battery cover flap, and it tells you exactly which manual or parts list to search.
Take photos of the housing and any wiring before you open anything, so you can put it back together the same way.
- Check the case, battery cover, or a sticker inside the housing for the model number and battery markings.
- Note the chemistry: older shavers often use NiCd or NiMH packs built from stacked AA or sub-AA cells, while newer models tend to use small lithium-ion cells or sealed proprietary packs.
- Count the cells and read the voltage. Two NiMH cells typically add up to 2.4 volts, while a single lithium-ion cell runs at roughly 3.7 volts nominal.
- Record polarity markings and the connector type so the replacement matches exactly.
If the cells are welded together or glued into a one-piece block, plan on either buying a preassembled replacement pack or asking a specialist to handle the swap. Trying to pry welded tabs apart is a common way to damage the circuit board.
Step-by-step DIY battery replacement: a safe workflow
Once you know what's inside, the swap itself follows a fairly predictable sequence. Stop at any point where something doesn't match what you expected, rather than forcing it.
- Set up a clean, well-lit workspace and lay out your tools before opening the shaver.
- Photograph the internal layout, wiring, and connector orientation before removing anything.
- Open the housing with plastic pry tools rather than metal ones, which can scratch or crack the case.
- Locate the battery pack and mark which wire goes where, since a reversed connection can damage the circuit board.
- Remove the old cells: desolder tabs with a temperature-controlled iron, or unclip a prewired pack if the shaver uses one.
- Fit the replacement cells or pack, matching capacity, chemistry, and polarity exactly to what you removed.
- Close the housing, charge the shaver fully, and run one full shave to confirm normal operation.
- Visually check seals and gaskets before assuming the shaver is still fully water-resistant.
Repair guides that document these swaps consistently point to the same failure risks: too much heat while soldering, and mismatched cells that throw off the charging circuit's expectations, as described in repair walkthroughs for older shaver models.
Pro Tip: If you're not confident with a soldering iron, buy a prewired replacement pack with connector tabs already attached rather than raw cells, so you only need to plug it in.

Stop and call in professional help if the pack won't budge without stressing the seals, if the circuit board looks scorched or cracked, or if the connector housing breaks during removal. At that point, a DIY save attempt usually costs more than it saves.
Tools, spare parts and safety precautions to avoid permanent damage
A basic tool kit covers nearly every shaver repair: precision screwdrivers, plastic case openers, a temperature-controlled soldering iron, a desoldering pump or wick, a multimeter, fine-nosed pliers, and a small heat-sink clamp to protect the cell body while soldering.
- Choose replacement cells with factory solder tabs whenever possible, matched in mAh rating, chemistry, and nominal voltage to the originals.
- Limit direct heat contact when soldering to a few seconds at a time, and clamp a heat sink near the cell to protect it.
- Avoid soldering straight onto bare cell terminals unless they already have tabs; bare-cell soldering risks a fire or a vented cell.
- Never short-circuit a battery's terminals, never incinerate old cells, and dispose of them through your local battery recycling point.
Battery replaceability is treated as a scored factor in independent shaver testing, and Stiftung Warentest notes that non-replaceable designs are marked down, while some manufacturers still run their own replacement service for otherwise sealed models.
When to use a manufacturer service center or a specialist repair instead of DIY
Some situations call for professional hands, and it's worth admitting that early rather than after cracking a seal. Philips advises that for many of its waterproof shaver models, battery replacement should go through an authorized Philips service center, since opening the case yourself can compromise the waterproofing that protects the shaver during wet use.
- Choose a professional route when the pack is glued rather than clipped in or when the circuit board traces look fragile.
- Choose it when preserving waterproofing or an active warranty matters more than saving on labor.
- Manufacturer service centers and independent specialist repair shops can fit solder-tab cells or a new preassembled pack without disturbing the seals.
- For older, low-cost shavers, compare the repair quote against the price of a new entry-level model before committing.
How to buy the right replacement cell or pack
Buying the correct part is where most DIY repairs succeed or fail. Match the voltage, chemistry, cell count, and connector type against the markings you recorded earlier, and confirm the listing states all of them clearly.
- Confirm the listing states voltage, chemistry, capacity, and whether solder tabs are included before ordering.
- Buy from specialist battery retailers or a manufacturer's own parts page rather than unmarked marketplace listings.
- Categories like Akkus (Einzelzellen) or preassembled Akkupack options for shavers and hair clippers list voltage and capacity directly on the product page.
- Avoid listings that name only a model number with no voltage or capacity figures, or that price a pack far below comparable listings.
- When in doubt, order a preassembled pack built for your model rather than raw cells, or hand the job to a repair service if the shaver is sealed.
Expected parts cost, tool investment and repair turnaround times
Costs vary depending on how far you take the job yourself.
- A single replacement cell or a simple two- to three-cell NiMH pack is typically an inexpensive purchase; a preassembled pack costs more but saves the soldering step.
- If you need to buy tools from scratch, a basic soldering iron and multimeter are a modest one-time investment, and borrowing them from a friend cuts that to nothing.
- Professional repair fees vary by shop and whether mail-in shipping is required; weigh the quote against the price of a comparable new shaver before deciding.
- DIY swaps can be finished the same day, while mail-in repair services typically take several business days depending on parts availability.
Why repairability matters more than most shavers admit
Replacing a shaver battery instead of the whole unit cuts waste and often costs less for midrange models with accessible packs. Sealed or oddly built shavers can flip that math: fighting a glued case is a false economy when a service center can do it faster and without cracking a seal. AkkuPlus stocks the replacement packs that make the easy cases genuinely easy.
— Waldemar Pelich
AkkuPlus repair and replacement options
When your shaver's pack turns out to be sealed, glued, or simply beyond your soldering comfort, specialist battery retailers offer individual replacement cells, preassembled packs built for self-installation, and related accessories, alongside battery repair services that handle cell replacement and refurbishment when you'd rather not open the case yourself.
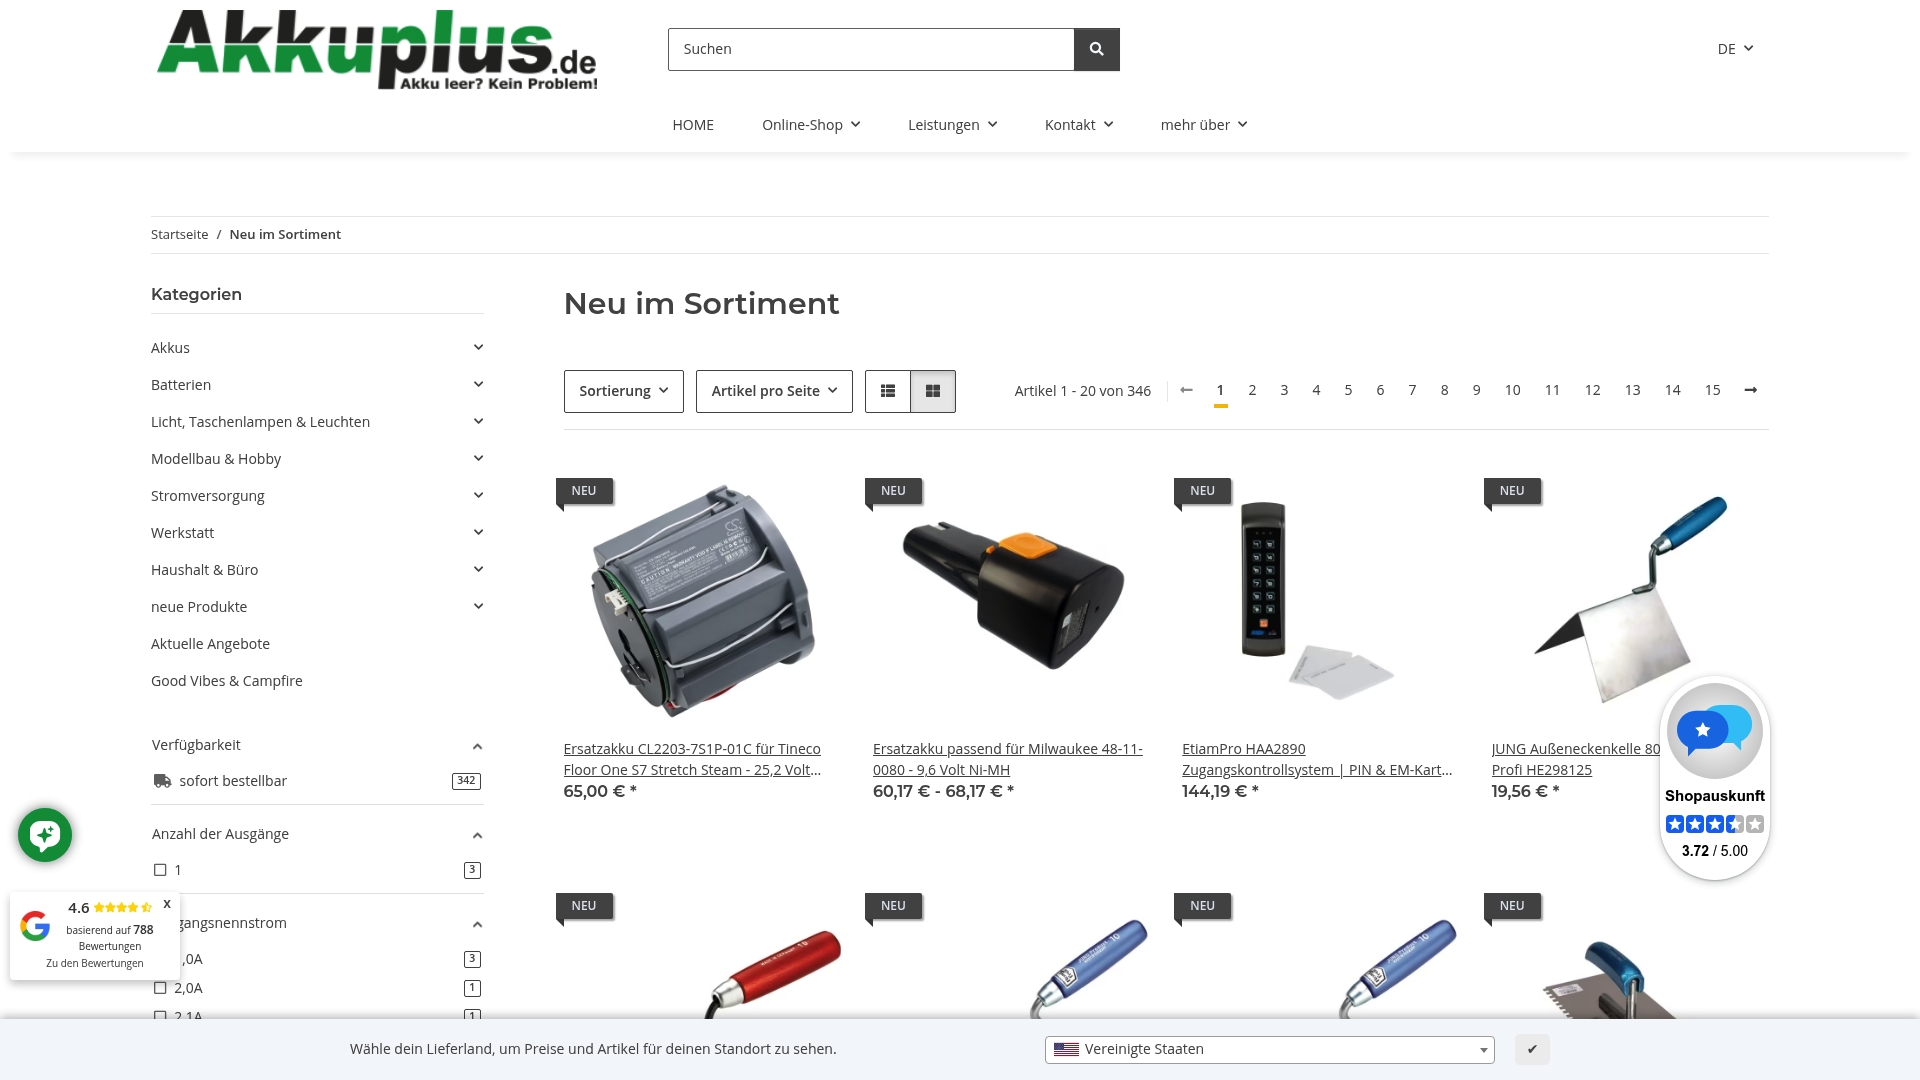
Choose the DIY packs when you're comfortable following the wiring and just need the right part in hand. Choose our Akkureparatur service for shavers and hair clippers when the model is waterproof, sealed, or simply not worth the risk of opening yourself. Browse our battery categories to find the right cell, pack, or repair option for your shaver.
Key manuals and testing reports to consult before replacing a battery
Check model-specific guidance before you start, since the right approach depends on the exact shaver.
- Philips support lists model numbers eligible for service-center battery exchange.
- Stiftung Warentest reports which shavers score well on replaceable-battery design.
- Manufacturer manuals cover charging times and battery care specific to your model.
Sources
- Test Elektrorasierer: So haben wir getestet | Stiftung Warentest
- Can I replace the battery of my Philips shaver? | Philips support
FAQ
Can electric shaver batteries be replaced?
Most electric shaver batteries can be replaced, either through a DIY cell swap or a professional repair service, though feasibility depends on how the manufacturer built the pack. Independent testing from Stiftung Warentest treats non-replaceable designs as a durability drawback.
Can I replace the battery in my Philips electric shaver?
Some Philips shaver batteries can be replaced at home, but Philips itself recommends that many waterproof models go through an authorized service center instead. Opening these cases yourself risks damaging the seals that keep the shaver water-resistant.
What type of battery is in a shaver?
Older shavers typically use NiCd or NiMH cells arranged in small stacked packs, while newer models often use lithium-ion cells or sealed proprietary packs. The exact voltage and cell count are usually printed on the pack itself or noted in the model's manual.
Can a Braun shaver battery be replaced?
Braun shaver batteries can often be replaced when the housing is designed to open without damaging seals, following the same identification and swap process used for other brands. Manufacturer manuals for specific Braun series document charging behavior and maintenance that are worth checking before you start.
How do I know my shaver battery needs replacing?
Signs include a shave that no longer lasts as long per charge, a shaver that won't hold a charge overnight, or a charging indicator that behaves erratically. If a full charge only powers a few minutes of shaving, the cells have likely degraded past the point of normal recovery.
Recommended
This article was created with the assistance of Artificial Intelligence (AI) and has been reviewed by our editorial team. Despite careful preparation, we assume no liability for the completeness, accuracy, or timeliness of the information provided. The technical data and specifications supplied by the respective manufacturer shall always prevail.