
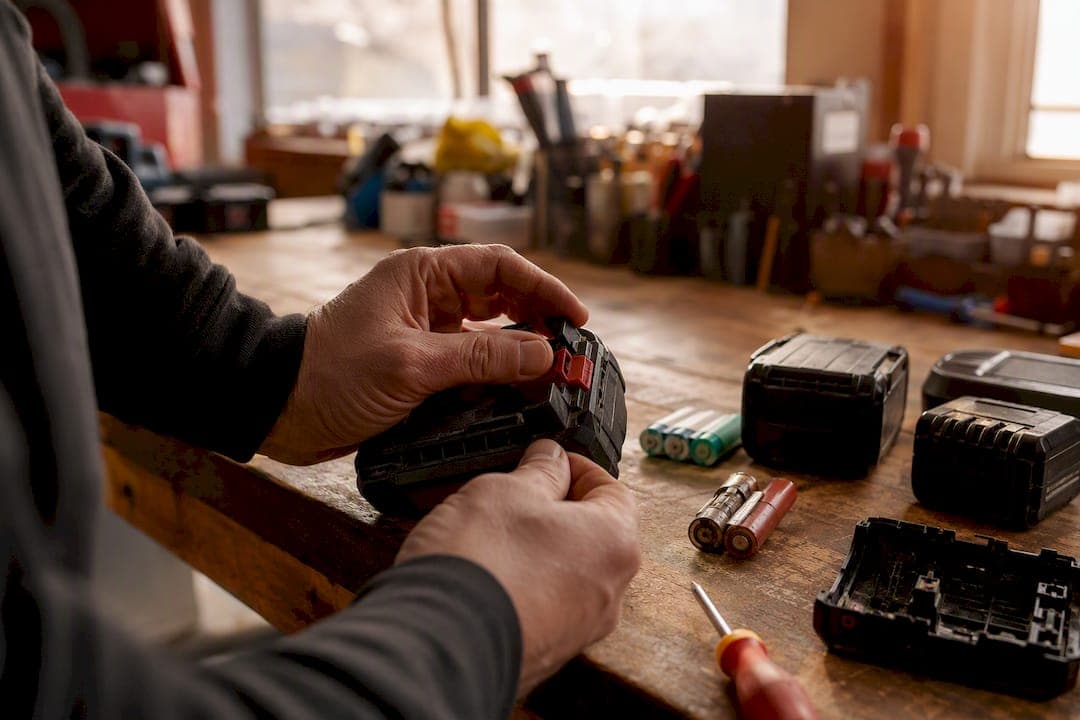
If your power tool pack is lithium-ion or shows a battery management system (BMS) error, get it checked by a repair specialist. If it's an older NiCd or NiMH pack with accessible, replaceable cells, a careful DIY rebuild is often reasonable. That's the whole decision tree in one sentence.
Before anything else, stop using the pack the moment you notice swelling, heat, a burning smell, or erratic charging. Isolate it immediately:
- Tape over the terminals with electrical tape to prevent accidental shorting.
- Set it on a noncombustible surface (concrete, tile, a metal tray) away from anything flammable.
- Do not attempt to open, charge, or discharge a swollen or hot pack due to safety risks.
Pro Tip: Photograph the pack's label and any error codes on your charger before you do anything else. If you end up sending it to a repair specialist, that information speeds up diagnosis considerably.
Once the pack is stable, either request a diagnostic quote from a specialist like Akkuplus or work through the safe DIY checklist below to see if your situation qualifies.
TL;DR:
- Replacing a single lithium-ion cell without matching the entire set often triggers BMS faults, risking permanent lockout or safety hazards.
- DIY repair is suitable only for packs with simple chemistry like NiCd or NiMH and no complex BMS, requiring careful testing and proper disconnection procedures.
- Swollen, leaking, or hot packs should never be opened or charged; instead, isolate and store them safely until professional diagnosis.
- Professionally repairing lithium-ion packs involves matching cells, careful reassembly, and burn-in testing to prevent failure and ensure safety.
- Reliable repair services, such as Akkuplus, verify BMS functions, follow strict shipping protocols, and offer diagnostic tests and warranties.
Table of Contents
- When Should You Choose Professional Power Tool Battery Repair Over DIY?
- What Are the Safe Steps for a DIY Battery Rebuild?
- Why Does Replacing One Cell Sometimes Kill the Whole Pack?
- What Are the Safety and Disposal Rules for Damaged Batteries?
- How Does Professional Power Tool Battery Repair Actually Work?
- How Do You Choose a Reliable Battery Repair Service?
- Why Trust Akkuplus for Power Tool Battery Parts and Repair
- Key Takeaways
- What Most Guides Get Wrong About Battery Repair
- Get Your Power Tool Battery Diagnosed the Right Way
- Sources
When Should You Choose Professional Power Tool Battery Repair Over DIY?
Certain symptoms remove DIY from the table entirely. A pack that's physically swollen, has leaked electrolyte, smells sharp or acrid, or throws repeated BMS fault codes on a lithium-ion platform needs a professional. So does any pack where you can't identify the cell chemistry with confidence. Guessing wrong here isn't a minor mistake; it's how fires start.
DIY becomes reasonable under a narrower set of conditions:
- The pack uses older NiCd or NiMH sub-C cells, which tolerate more handling error than lithium-ion.
- You can identify the exact cell specs (voltage, capacity, physical size) and source matching replacements.
- You have or can borrow a spot welder, since prolonged soldering heat damages these cells.
- The pack has no BMS, or a simple one you understand well enough to work around safely.
There's a third path worth naming honestly: sometimes the smartest move isn't repairing the old pack at all. If you're on a two-generation-old NiCd platform and the tool itself still has life left, migrating to a modern Li-ion platform often beats sinking money into repeated retrofits on aging chemistry. Weigh the repair cost against a new pack's price before committing.
What Are the Safe Steps for a DIY Battery Rebuild?
A DIY cell swap done right follows a sequence, not a shortcut. Skipping steps is exactly how a $15 repair turns into a $150 tool replacement.
- Identify chemistry and layout first. Open the case carefully, photograph the cell arrangement, wiring, and any BMS board before disturbing anything. You'll need this reference during reassembly.
- Gather the right materials before you start. That means safety glasses, gloves, a fire extinguisher rated for lithium fires nearby, and cells that match the originals in capacity and chemistry. A charger built for the cell count and chemistry you're working with, such as an Ansmann ACS 110, matters more than most DIYers expect.
- Fully disconnect the BMS before touching any cell. Fully disconnect the Battery Management System before working on cells to prevent damage, according to Orion BMS's troubleshooting guidance.
- Test each cell individually with a multimeter or dedicated tester. A healthy NiCd or NiMH cell should sit close to its rated nominal voltage under no load. A cell that reads at or near zero, or that drops sharply under a light load, is dead and needs replacing, not reviving. A basic cell tester makes this step far less guesswork.
- Replace cells as a matched set, not one at a time. Mixing an old, partially degraded cell with a fresh one creates an imbalance the moment you put the pack under load, since the weaker cell drains faster and eventually reverse-charges.
- Use spot welding over soldering wherever possible. Avoid prolonged soldering heat on cells; brief, high-wattage soldering or spot welding is safer.
- Charge slowly and watch the first cycle closely. Keep the newly rebuilt pack in view during its first charge and first use. Uneven heat across the pack, a charger that won't terminate normally, or a sudden voltage drop under load are early failure signs worth catching before you trust the tool again.
None of this is exotic work for someone comfortable with a soldering iron and a multimeter. But it demands patience, and it only applies to the simpler chemistries. Lithium-ion packs with an integrated BMS are a different animal entirely, which brings us to the part of this process where most DIY attempts actually go wrong.
Why Does Replacing One Cell Sometimes Kill the Whole Pack?
Here's the mechanism most guides skip: a lithium-ion pack's BMS constantly monitors each cell's voltage and balances them against each other. It's built on the assumption that every cell in the series string ages and discharges at roughly the same rate. Swap in a single new cell next to five older ones, and you've broken that assumption instantly.
- The new cell holds a different state of charge than its neighbors, and the BMS reads that gap as an imbalance fault.
- Industry guidance is blunt about this: a battery pack is only as reliable as its weakest cell, and mismatched replacement cells routinely trigger the exact protection circuitry meant to keep the pack safe.
- Once triggered, some BMS units lock the pack out entirely rather than risk continued operation, and that lockout can be permanent without the right reset procedure.
The safest professional approach pre-charges new cells to roughly match the state of charge of the existing cells before they ever go into the pack, then reconnects the BMS harness in the exact order the manufacturer specifies, usually low-voltage sensing taps first. Getting that order wrong is one of the more common ways a BMS controller gets bricked during what should have been a routine repair.
That's not a step most home workshops can replicate reliably, because it requires controlled power supplies and manufacturer-specific wiring diagrams. It's also why professional shops build in a burn-in period, running the rebuilt pack through multiple charge and discharge cycles under monitoring before calling the job done. Skipping that step is how a pack that "worked fine on the bench" fails a week later in the field.
What Are the Safety and Disposal Rules for Damaged Batteries?
A damaged lithium-ion pack is a fire hazard, not just a broken tool. DGUV's guidance on lithium-ion battery hazards is direct about this: improper storage of a defective pack can escalate into a fire, which is why quarantine handling matters as much as the repair itself.
Follow these rules whether you're storing a pack for a week or shipping it across the country:
- Store swollen or suspect battery packs at moderate charge levels on noncombustible surfaces away from flammable materials.
- Never ship a damaged or suspected-defective battery through standard postal channels. ADR transport regulations require approved hazardous-materials packaging and documentation for anything showing signs of damage.
- Guidance under AwSV covering lithium-ion batteries specifies containment and leak-retention measures for storage and transport, which is why reputable mail-in repair services use specialized packing rather than a padded envelope.
- For disposal, use retail takeback programs or municipal hazardous waste collection points. Always tape the terminals first, whether the pack is going to recycling or into temporary storage.
If you're arranging a mail-in repair, ask the provider upfront how they handle ADR-compliant shipping. A provider that shrugs off that question is a provider to avoid.
How Does Professional Power Tool Battery Repair Actually Work?
A competent repair shop follows a consistent workflow, and knowing it helps you judge whether a quote is fair.
- Inspection and diagnosis. The pack is opened, each cell tested individually, and the BMS checked for fault codes or damage.
- Cell sourcing and replacement. Matched cells of the correct chemistry and capacity are installed, typically the full series set rather than a partial swap.
- BMS verification and reconnection. The controller is tested independently, then reconnected in the correct sequence to avoid the lockout issues described earlier.
- Charge cycling and load testing. The rebuilt pack goes through multiple charge and discharge cycles under observation before it ships back.
Turnaround for a diagnostic-only quote usually runs a few days; a full rebuild with sourced cells and burn-in testing typically takes one to two weeks, longer if the cells are unusual or the BMS needs specialized parts. Cost climbs with pack size, cell rarity, and BMS complexity. A basic power tool pack rebuild can cost less than replacing a full lithium-ion platform, but a pack with a damaged BMS board pushes costs higher since that component often costs more than the cells themselves.
Ask any provider about their fire-safe workspace, whether they provide test logs, what warranty backs the repair, and how they handle transport of the damaged pack you're sending in. Those four answers tell you almost everything about whether they know what they're doing.
How Do You Choose a Reliable Battery Repair Service?
Run through this before committing to any provider:
- Ask what BMS diagnostics they run and whether they show you the results. A shop with nothing to show is a shop guessing.
- Ask how they package and ship damaged batteries. Vague answers here are a serious red flag given the ADR requirements covered above.
- Ask about warranty length on the rebuild. A provider confident in their cell matching and BMS work should back it for a defined period.
- Ask whether they burn-in test the pack before returning it. Skipping this step is how a rebuilt pack fails within weeks.
- Confirm they maintain a quarantine policy for incoming damaged packs. No isolated storage area for suspect batteries suggests a workshop cutting corners on fire safety.
Mail-in specialists make sense when local options are thin or the pack chemistry is unusual; a local shop makes sense when you want to inspect their workspace yourself before handing over a swollen pack.
Why Trust Akkuplus for Power Tool Battery Parts and Repair
Akkuplus has operated as an online battery retailer for years, stocking replacement cells across chemistries rather than a narrow slice of the market. That range matters when you're hunting for a specific cell to match an aging pack rather than settling for whatever's on the shelf.
The catalog includes recognized manufacturers like the Panasonic LC-R064R5P, alongside options like the Multipower MP1250, the kind of parts availability that shortens repair turnaround considerably compared to hunting across multiple suppliers.
- Stocks branded, recognized cell manufacturers rather than unbranded generics.
- Offers paid repair and cell-replacement services alongside retail sales.
- Covers automotive, household, and specialized electronic battery chemistries under one catalog.
Pro Tip: If you're DIY-rebuilding a simple sealed lead-acid or NiCd pack, check part availability before you disassemble anything. Confirming the exact replacement cell exists saves you from an opened case sitting on your workbench for weeks.
Key Takeaways
Repair or rebuild success comes down to matching the right path (professional vs. DIY) to your pack's chemistry and BMS complexity, then following the correct cell-replacement and safety sequence.
| Point | Details |
|---|---|
| Match the path to the pack | Choose professional repair for lithium-ion or BMS-equipped packs; DIY only suits simple NiCd/NiMH packs. |
| Never swap a single cell | Replace matched cell sets together to avoid the BMS imbalance faults that brick lithium-ion packs. |
| Disconnect BMS before cell work | Working on cells with the BMS still connected risks permanently damaging the controller. |
| Store and ship damaged packs correctly | Quarantine swollen packs at moderate charge levels and use ADR-compliant packing, never standard post. |
| Source parts from a stocked retailer | Akkuplus supplies matched replacement cells and offers paid repair services for packs beyond safe DIY scope. |
What Most Guides Get Wrong About Battery Repair
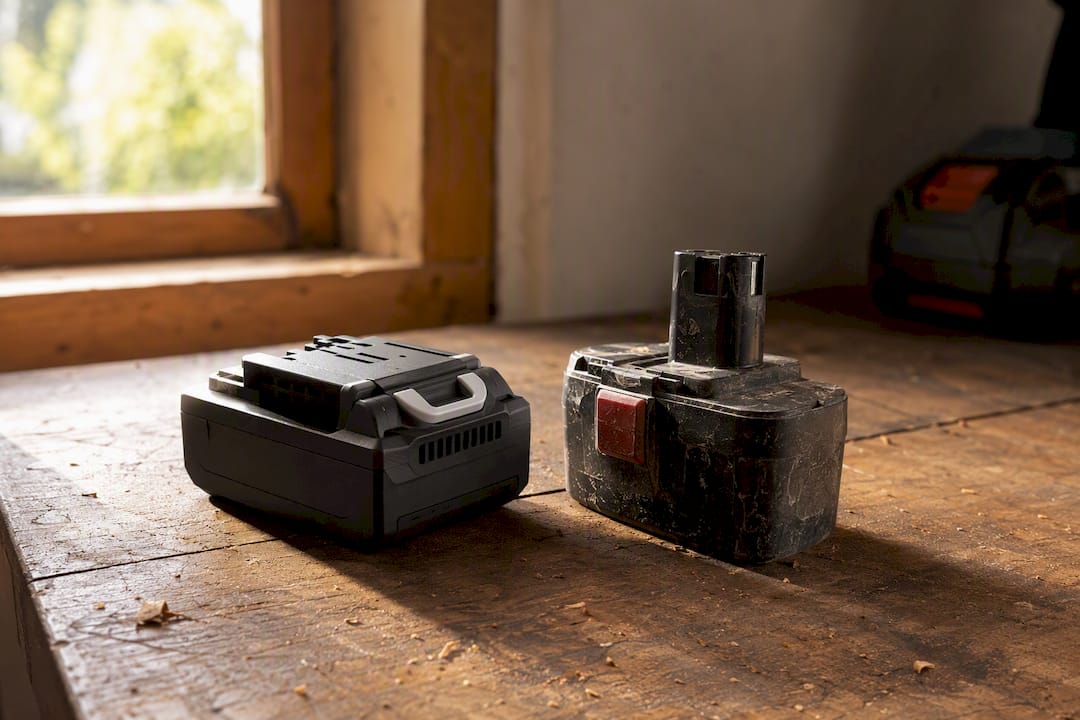
The conventional advice treats battery repair as a binary: either you're handy enough to DIY everything, or you ship the whole thing off and pay whatever's quoted. That framing misses the more useful question, which is what chemistry and BMS complexity you're actually dealing with. A 20-year-old NiCd drill pack and a modern lithium-ion impact driver pack aren't the same repair problem wearing different labels; they're different risk categories entirely.
What gets underrated is how often the real failure isn't the dead cell. It's the reassembly sequence. Readers fixate on sourcing the right replacement cell and skip past the part that actually causes bricked packs: reconnecting a BMS in the wrong order or skipping the burn-in cycle. That's a procedural discipline problem, not a parts problem, and it's exactly where professional repair earns its cost on anything more complex than a simple sealed pack.
If you take one thing from this guide, let it be this: match your ambition to your pack's actual complexity, not to how confident you feel with a soldering iron.
— Waldemar
Get Your Power Tool Battery Diagnosed the Right Way
Akkuplus solves the exact problem this guide walks through: sourcing a matched replacement cell without guessing, and getting a properly diagnosed repair when a pack is past safe DIY territory. Unlike hunting across scattered suppliers for one obscure cell, Akkuplus stocks a broad catalog spanning household, automotive, and specialized electronic chemistries under one roof, which means less time chasing parts and more time getting the tool back in your hand.
If your diagnosis points to a simple NiCd or NiMH rebuild, browse cell options like the Long WP1250 12 Volt pack or the Sanyo KR-5000DEL to confirm your exact cell is in stock before you open the case. If the pack shows BMS faults, swelling, or damage beyond DIY scope, visit Akkuplus to request a diagnostic quote and get a straight answer on whether repair or replacement makes more sense for your tool.
Sources
For readers who want to verify handling, transport, and disposal rules directly:
- NFPA — lithium‑ion battery safety and guidance
- DGUV — research/project guidance on lithium‑ion battery hazards
- Orion BMS — replacing one or more cells troubleshooting
- Merkblatt LIB nach AwSV — guidance on storage, containment and transport