

Most cases of an ebike battery not charging come down to one of four things: a dead outlet or bad charger, corroded connectors, or the battery management system locking the pack out for safety. Before you assume the battery is dead, plug the charger into a different outlet, check for a light on the charger itself, and let a cold battery warm to room temperature for a few hours. Stop immediately and skip DIY fixes if you see swelling, smell anything burnt, or feel excessive heat.
TL;DR:
- Most charging issues stem from simple causes like faulty outlets, damaged connectors, or incorrect charger voltage, not dead batteries.
- Cold temperatures and deep discharges can temporarily or permanently lock out the battery, but warming or professional repair can often restore full capacity.
- Using a multimeter to verify charger output and battery voltage helps identify whether the problem lies with the charger, the pack, or the BMS.
- Swollen, hot, or leaking batteries pose serious safety risks and should never be charged again; professional intervention is necessary in such cases.
- Following a logical troubleshooting order prevents unnecessary replacements and should be complemented by professional diagnostics when simple fixes fail.
Table of Contents
- Ebike Battery Not Charging: A Step-By-Step Checklist
- Why Does the BMS Block Charging Sometimes?
- How Do You Test an Ebike Battery With a Multimeter?
- When Should You Stop Troubleshooting and Call a Professional?
- Why Trust This Troubleshooting Order
- Get Your Battery Tested or Repaired the Right Way
- Where to Check Model-Specific Guidance
- Sources
Ebike Battery Not Charging: A Step-By-Step Checklist
Work through this in order. Skipping steps is how people replace a $300 battery pack when the real problem was a $15 outlet or a loose plug.
- Test the wall outlet first. Plug in a lamp or phone charger you know works. A dead outlet is more common than people expect, especially garage or shed outlets on a breaker that trips easily.
- Try a different socket entirely. If the first outlet works for other devices but not your charger, move to another room and test again before touching the bike.
- Plug the charger into the wall by itself, with nothing connected to the battery. Most chargers show a light within seconds. No light at all usually means the charger itself has failed.
- Connect the charger to the battery and watch the LED closely. A red or amber light that never shifts to green after several hours suggests the battery isn't accepting a full charge. A light that flickers or won't turn on at all often points to a bad connector rather than a dead cell.
- Inspect the charging port and the charger's pins. Look for corrosion, greenish residue, bent pins, or plastic that looks melted or discolored. Clean contacts gently with isopropyl alcohol on a cotton swab. Never use water or a metal tool that could scratch the contacts.
- Confirm the charger matches your battery's voltage. A 36V pack needs a charger outputting roughly 42V, and a 48V pack needs around 54.6V. Using a mismatched charger voltage can stop charging entirely or damage the cells over time.
- Swap in a known-good charger if you have access to one, and check your battery compartment for a fuse, since some packs have one that can blow silently.
Most "won't charge" complaints trace back to something on this list rather than a dead battery. Following a logical order of tests instead of guessing saves you money and prevents unnecessary battery replacement.
Why Does the BMS Block Charging Sometimes?
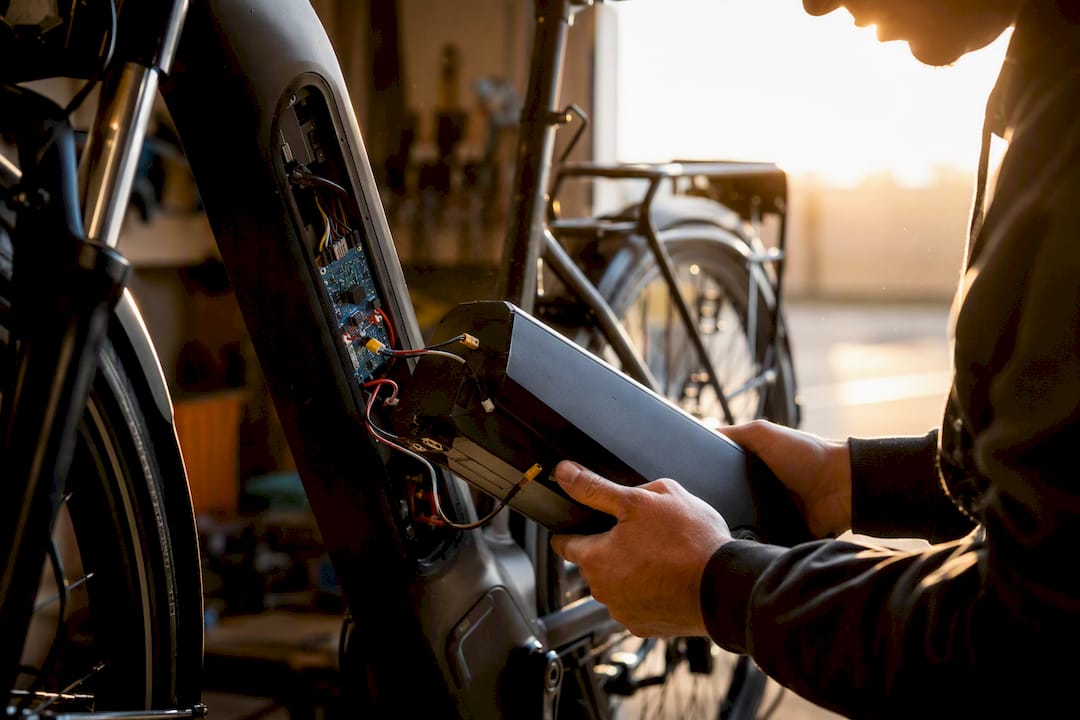
Every lithium ebike battery has a battery management system, a small circuit board that monitors voltage, temperature, and cell balance, and cuts power the moment something looks unsafe. That's not a malfunction. It's the pack protecting itself, and in most cases the lockout is completely recoverable once you address the trigger.
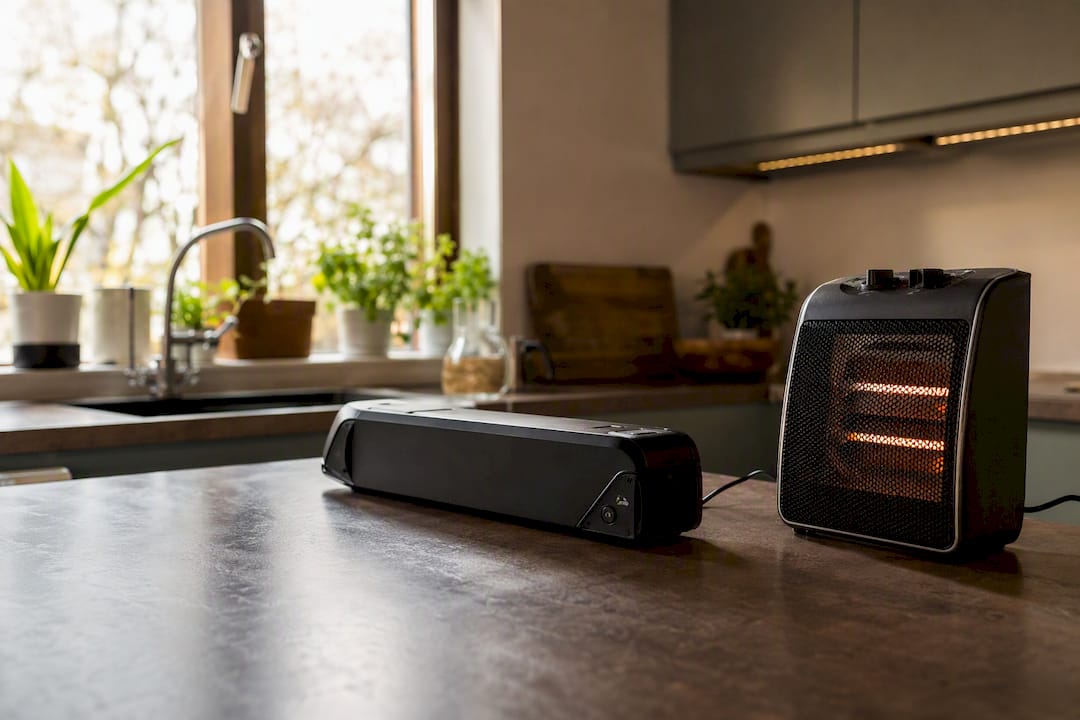
Cold is the most common cause. Charging lithium cells below freezing risks lithium plating on the anode, so the BMS simply refuses. If your battery has been sitting in a cold garage or came off the bike after a winter ride, bring it inside and let it sit at room temperature, ideally 20 to 22°C, for four to six hours before trying again. Rushing this step is the single most common mistake we see.
Deep discharge is the other big trigger, and it's more serious. If a pack sat unused for months and drained below roughly 2.5 volts per cell, the BMS may have opened the circuit to prevent damage.
A single deep-discharge event commonly causes 10 to 30 percent permanent capacity loss, even if the pack eventually accepts a charge again.
The distinction matters for what happens next:
- A cold-triggered lockout is almost always recoverable with time and warmth.
- A voltage-imbalance lockout between cells may need a technician's diagnostic tools.
- A deep-discharge lockout might charge again but never return to full capacity.
Bosch and Shimano systems display specific error codes on the console or app rather than a vague blinking light, and those codes are far more reliable than guessing from LED patterns alone.
How Do You Test an Ebike Battery With a Multimeter?
A $15 multimeter answers the question a blinking LED can't: is the fault in the charger or in the pack? Here's how to check both safely.
- Set your multimeter to DC voltage and test the charger's output alone, unplugged from the battery. A healthy 36V charger should read close to 42V open circuit; a 48V charger should read near 54.6V. A reading far below spec, or nothing at all, confirms a dead charger.
- Test the battery's resting voltage at the charging port with the charger disconnected. Compare the reading against your pack's nominal voltage. A 36V pack sitting at 30 to 34V is simply discharged and should accept a charge normally.
- A reading of 0V at the output is different from a low-but-present voltage. Zero almost always means the BMS has opened the circuit entirely, not that the cells are dead. A low reading, like 15V on a 36V pack, points toward deep discharge instead.
- Resist the urge to force a charge into a 0V pack. Technicians sometimes revive these using a bench power supply at a very low current, around 0.05C, to nudge the BMS back into an active state. That process requires current limiting and constant monitoring, and doing it with a standard charger risks thermal runaway. This is not a home fix.
- Use your readings to decide your next move. Charger reading way off spec: replace the charger. Battery reading 0V: take it to a shop for a professional wake attempt. Battery reading low but present and still not charging after warming up: the pack likely needs repair or replacement.
Pro Tip: Write down your voltage readings and the date. If the resting voltage keeps dropping faster than it used to over a few weeks, that's often the earliest sign of a failing cell, well before the bike shows any error message.
When Should You Stop Troubleshooting and Call a Professional?
Some symptoms mean stop immediately, not "try one more thing." Any of the following are reasons to disconnect the battery, move it away from anything flammable, and contact a qualified technician instead of continuing to test it yourself:
- The case looks swollen, puffy, or misshapen compared to its original shape.
- You notice a sharp, sweet, or acrid smell near the pack.
- The battery feels hot to the touch while just sitting, not even charging.
- There's any visible leaking or crusty residue around the seams.
A swollen lithium pack should never be charged again, and treating it as hazardous waste rather than a repair project is the right call. Loose connectors and a tripped BMS are realistic DIY-adjacent fixes. Physical cell damage isn't. Recall that a single deep discharge below 2.5 volts per cell can cost you 10 to 30 percent of your original capacity permanently, which is often the deciding factor between paying for a repair and just replacing the pack outright.
Why Trust This Troubleshooting Order
Diagnosing a battery that won't charge rewards patience over guesswork. The order in this guide, checking the mundane stuff before touching the pack itself, exists because most people jump straight to "the battery is dead" when the actual fault sits in a $20 charger or a corroded pin. Akkuplus built its repair and testing process around that same discipline: verify the simple failure points first, then use meter readings to make the call, not intuition.
— Waldemar
Get Your Battery Tested or Repaired the Right Way
If you've worked through the checklist above and you're still staring at a battery that refuses to charge, guessing further just risks a swollen pack or a wasted charger purchase. Akkuplus gives you a faster, safer path: send in the pack for real diagnostics instead of chasing symptoms blind, or pick up the tools to check it yourself first.
A battery tester lets you confirm cell voltage and charger output at home before you spend a cent on a repair. If your multimeter readings point to a BMS fault or damaged connector rather than a dead pack, Akkuplus's cell replacement and repair service is often far cheaper than buying an entirely new battery. But if your pack shows swelling, deep-discharge damage, or cells beyond saving, replacing it outright with a properly matched replacement pack is the safer and more cost-effective move. Start by checking your voltage readings against your battery's spec sheet, then reach out to Akkuplus with those numbers for a straight answer on repair versus replacement.
Where to Check Model-Specific Guidance
Every ebike system has its own quirks. Before ordering parts, check your manufacturer's error code documentation for Bosch or Shimano systems, and confirm your battery model against any active safety recalls before continuing to use or charge it.
Sources
- Error patterns & solutions for Bosch / Shimano — Velo de Ville helpcenter
- Bosch Performance Line CX gen5 — important error codes and causes — BIKE-Magazin
- Why your ebike battery is not charging (and how to fix it) — Letrigo
- How to fix e-bike battery not charging: step-by-step troubleshooting — GreenMoov